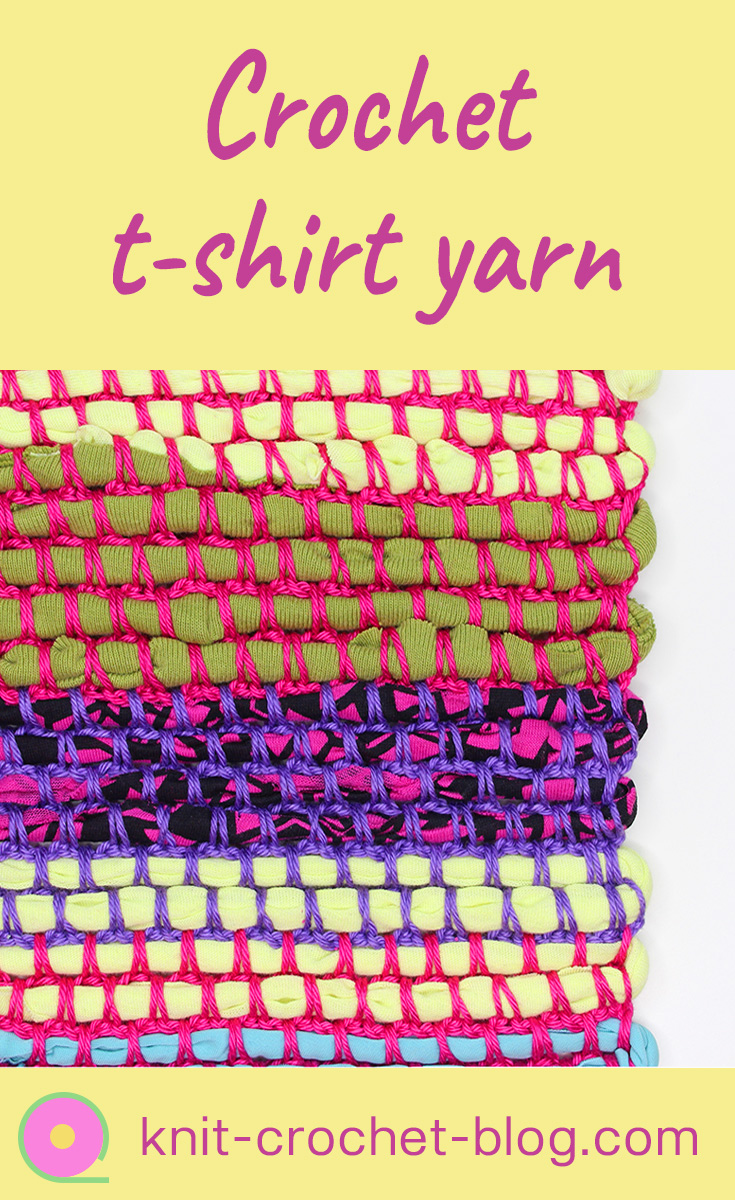
Most of us have t-shirts and other tops we are no longer wearing. What better way to recycle them than to create colourful crochet items from them! Cut the shirts into strips and use bright coloured mercerized cotton to crochet the strips together. I have a box where I gather all old t-shirts and other items in stretchy material. Now I noticed that I have enough for a rug for my workroom.
I have used t-shirt yarns before and my most popular video tutorial is about crocheting round using t-shirt yarn. This time I decided to make a rectangular rug. It is also easier and quicker because you crochet back and forth, not round.
This post contains affiliate links. It means that if you purchase a product I recommend, I may earn a small commission with no added cost to you.
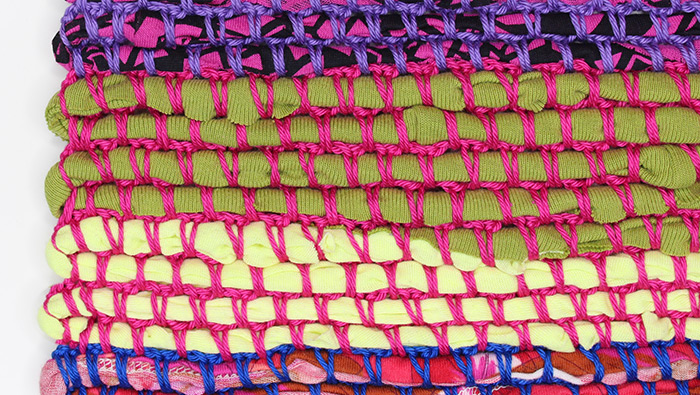
The photo above is a close-up of the work in progress.
Suggestions for projects using this technique:
- Rug
- Table mat, table runner
- Bag, tote
- Cushion cover, floor cushion
- Coasters
- Tablet sleeve, laptop cover
- Basket
- Bedspread
Some points to consider for a new project:
- If you cut your own t-shirt yarn, make it the wider the heavier you want the finished product to be. For a rug, the yarn can be up to 5 – 8 cm (2 to 3 inches) wide. For coasters and other light items only cut it 2-3 cm (about 1 inch) wide.
- Make the first row as wide as you want your project to be.
- When making a bag, tote, cushion cover, tablet cover, crochet the piece twice as big and fold into two.
- When starting a new piece of yarn, cut both the old yarn and the new yarn narrower (tapered) to get a neater join.
- If you use different colours of the cotton yarn, check out this video for the quickest way to join new yarn.
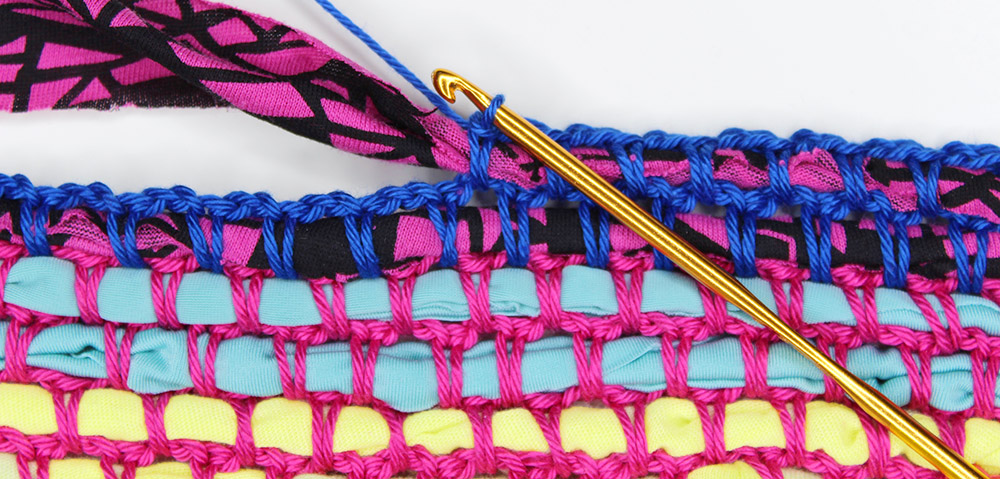
If you prefer, you can purchase ready-made t-shirt yarn. For crocheting the t-shirt yarn rows together I used mercerized cotton yarn. Select a crochet hook that goes with the yarn you are using. I used a hook size 3.5 mm.
Tutorial video: Crochet t-shirt yarn
Pin this article


I love your blog. I’m trying to crochet yarn around a stretchy/tshirt materal but it curves, I can’t keep it straight. What am I doing wrong?
You are probably not increasing enough. Please check out this video, I’m showing a round rug in it: https://youtu.be/UdmVSIxbWqw