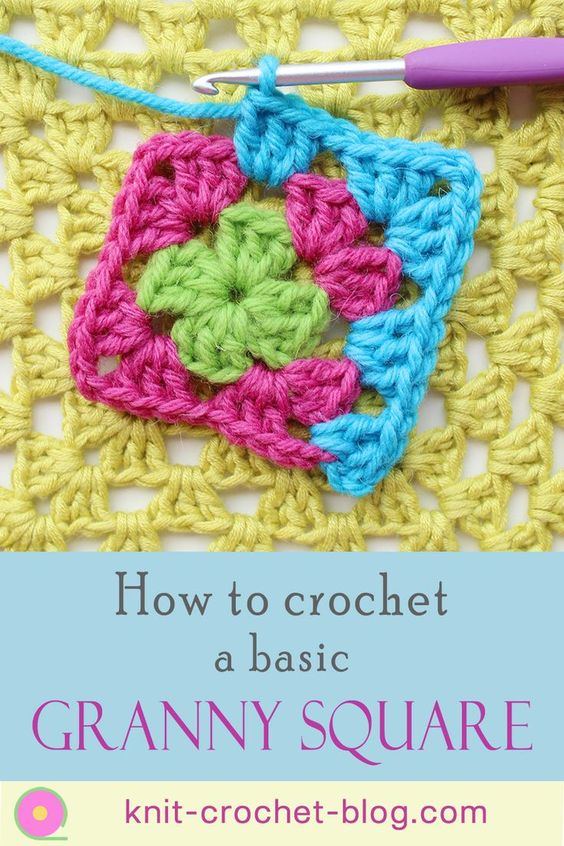
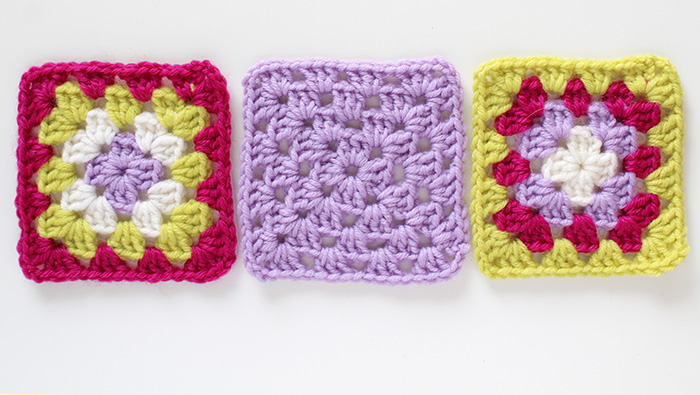
Every year for many years now there has been a GrannysquareDay on Instagram. This link shows you the thousands granny square images posted from all over the world. Many are not what was originally called a granny square though but different types of lovely squares.
There are many slightly different tutorials for crocheting the granny square. I still decided to make my own one too! For me, it is important to make the moving from one round to the next as easy as possible. I always do that in the same corner of the square.
This post contains affiliate links. It means that if you purchase a product I recommend, I may earn a small commission with no added cost to you.
There are also different amounts of stitches in granny squares. I chain two in each corner and chain one in between the groups of double-crochets on the sides of the square. You can also make the squares so that you chain three in the corners and two on the sides. That makes a slightly looser, more lacy square.
I have three double-crochets in each double-crochet group. You could also have four in each for a fuller square. In a large project that takes up a lot more yarn!
 Want more beautiful yarn? Check out the monthly yarn subsciption club!
Video tutorial for a basic granny square
Example of a granny square project
Here is a bedspread I crocheted several years ago and still use daily. It is all in granny squares. I have crocheted them together in the last round. See the video about joining granny squares as you go! Joining them on the go requires a bit more planning beforehand because you can’t try out the different ways you might want to join them. For a project where you want the squares to be in a completely mixed order, joining as you go is the ideal way as there is no sewing afterwards. I have over 30 colours in my bedspread.
Pin this page:
Pinterest continues to be the main source of readers finding my blog posts. At the moment I have 2.7 million monthly views on Pinterest. I use Tailwind to automate and schdule pins. If you would benefit from Tailwind, you can get it using my personal link. We both benefit from the link if you later upgrade your Tailwind to a paid plan.


This is such a good technique! I’ve been crocheting for close to 10 years now, but I’ve never really figured out a granny square until I watched your video! I’m a self taught crocheter so I’m very excited to try this! Thank you!
Thank you for your easy to follow instructions. Eager to get started
Thank you, trust you will enjoy crocheting one!
Nice video! I have made granny squares but I want to teach my cousin how to make them. Your video will help if I’m not with her when she’s crocheting by herself! Thank you!
Great to hear the video is useful!
Never changed colours like that..!! I will be trying this soon.. wonderful video.. very helpful.
Great to hear, glad you are going to try it soon 🙂
Hi! What yarn weight are you using?
In the examples I have double knitting weight. But it works the same no matter what weight, just need to select your hook so it goes with your yarn. Happy crocheting!
Great tutorial!!! Keep up the good work!!
Thank you, happy to hear you liked it!
Hello! I was wondering what yarn weight you used in this tutorial and what size crochet hook?
You are fabulous, thank you.
Emma. X
Thank you! 🙂
How can I tell the wrong side vs the right side of the granny square?
On the right side you see the stitches better, stitches sort of turn towards you on the right side.
When changing colors on the granny square, how do you end the previous color? Do you tie it off somehow?
While you work, you just leave it hanging. After the square (or many squares) are done, you weave the yearn ends into the crocheting so that it doesn’t show. Knots should never be used in crochet or knitting, they leave an ugly hard lump and can easily get undone.