 This mini bead stitch stitch tutorial is part of a stitch tutorial blog hop. A blog hop is an event where you get similar content in many blogs, “hopping” from one to another. This blog hop is focused on crochet stitch patterns that use 2 stitches in a repeat. It is organised by by Christine from Sweet Potato 3 blog. See the schedule and content in the blog hop round-up page.
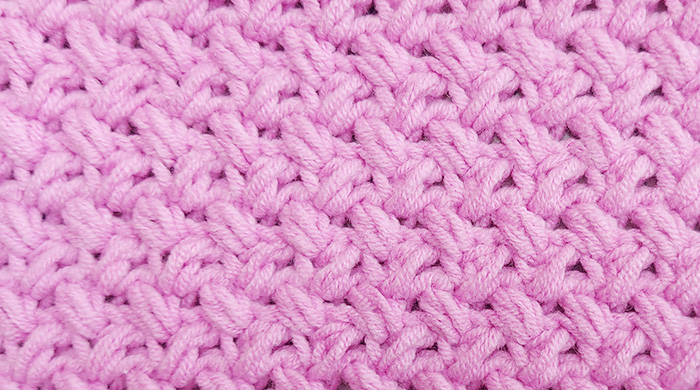
Where to use the Mini bead stitch
The mini bead stitch has a nice drape and clear texture, therefore it is suitable for a wide range of items. The result is very different if you use soft flowing wool or sturdy cotton.
Use the stitch for
- Blanket, especially baby blanket
- Scarf, cowl
- Hat, beanie
- Headband
- Bag
- Cushion
- Poncho
- Kitchen cloth, wash cloth
- Christmas tree ornament
Subscribe to Tuula’s newsletter!
 One example of the stitch in action is this soft, cozy beanie. It’s worked in the round, starting at the bottom edge. You can easily customize it to your liking—make it snug, slouchy, or fold the brim for a different look. Click for details and tutorial!
Instructions for the mini bead stitch
See step-by-step video instructions here!
This stitch needs to be worked so that you turn on each row. Therefore also when working in the round, you turn in the beginning of each round.
Abbreviations
st, sts – stitch, stiches
ch – chain
yo – yarn over
Chain an odd number of stitches.
Row 1
Insert hook into 3rd stitch from hook, pull up a loop, yo, insert hook into the same st, pull up a loop, yo, yarn through all 4 loops (forms a bead). Ch1. *Skip 1, insert hook into the next ch, pull up a loop, yo, insert hook into the same st, pull up a loop, yo, yarn through all 4 loops, ch1. * Repeat from * to * until the end of the chain.


Row 2 and all consquent rows
Ch1, turn.
*Insert hook into the side of the bead. (Not under ch1.) Pull up a loop, yo, insert hook into the same space, pull up a loop, yo, yarn through all 4 loops, ch1.* Repeat from * to * until the end of the row, going from one bead to the next.


Subscribe to Tuula’s newsletter!

Pin the tutorial:

This is the cutest stitch ever! Thank you!!!
Glad you like it!