Many crochet projects begin by working around a starting chain—first along one side, then back along the other. This technique is commonly used for bags, pouches, baskets, slippers, amigurumi parts, and more. The starting chain can vary in length, from just a few stitches to several dozen, depending on the project. For example, a large doily would require a much longer starting chain than a baby sock or an amigurumi part.

The most common way to start is from the top of the chain. You work by first crocheting along one side by inserting your hook into each loop, then back with the hook into the loops on the other side of the chain.
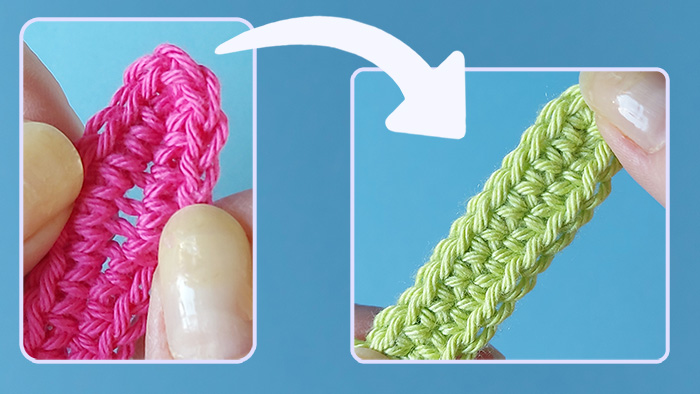
However, although this method is commonly used, it often results in small gaps or holes in the foundation.This is a problem both in projects that require strength like the bottom of a bag and in amigurumi where the filling shows through the gaps.

Fortunately, there is an easy way to avoid this problem and have a solid starting round without holes!
Start by crocheting into the back bumps (back loops) of the chain, one single crochet into each until the end of the chain. For turning, two more single crochets into the last stitch.

To work along the other side of the chain, turn it around. Find the stitches left from crocheting into the back bumps. These look like any last row of crochet. Insert your hook through both loops of each stitch and crochet single crochets across to the end.
6 Best Tips to Fine-tune your Crochet!

This method creates a sturdy, gap-free foundation for your project. The stitches sit neatly along the center, giving your work a clean and professional look.

See how on this step-by-step video.
Tutorial video: Best Way to Crochet both sides of a Starting Chain: No Gaps!

Pin the tutorial so you easily find it again!
