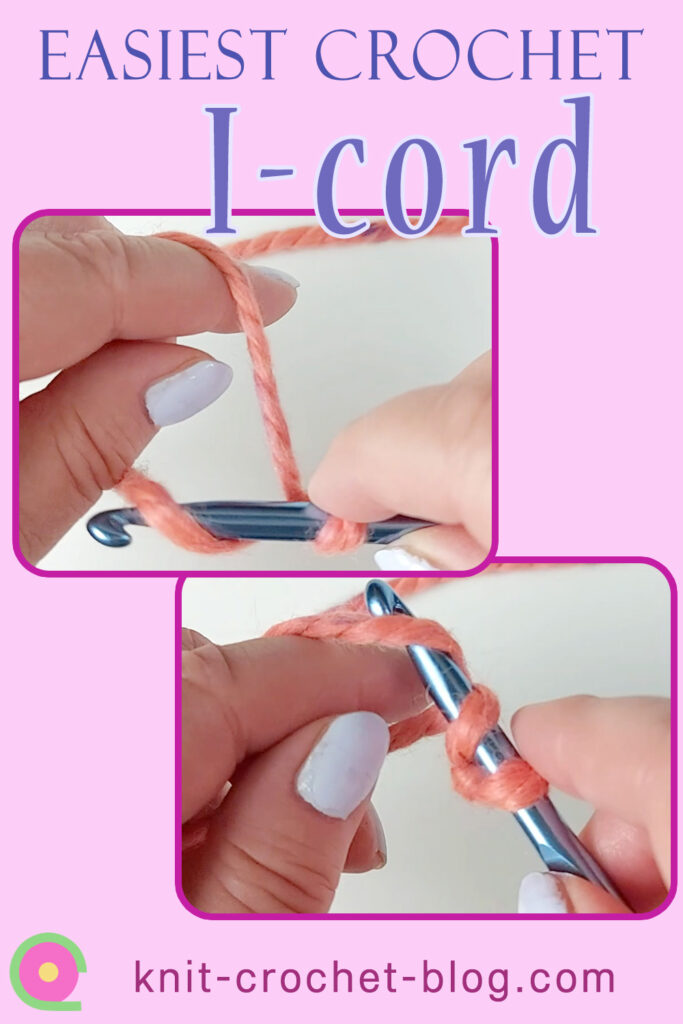
There are multiple ways to create crochet cord or i-cord. Some of them are unnecessarily complicated, especially ones where you risk losing stitches because you need to hold on to stitches. Skip those instructions! I have this video tutorial for a thicker cord. But here I’m showing the fastest and easiest way to crochet cord.
Crochet cord serves many purposes:
- Hanging loop
- Strap
- Ribbon
- Gift wrap tie
- Drawstring
- Keychain
- In garlands
- For braiding into items like hot pads or coasters
- Decorative piping, applique
- Edging
- Form decorations like flowers or other shapes as appliques
How much yarn do I need
I always make this cord so that one of the strands, the working yarn, comes from a ball of yarn. The other end of the yarn needs to be 3 times the length of the finished cord.
The method
- Make a slip knot, leaving a yarn tail 3 times the length of the finished cord.
See video about making the slip knot directly on your hook! - Hold the yarns as shown in the photo. The long yarn tail is on the left, yarn on the right comes from the ball or skein.
- Go around and take the right-hand yarn on the hook from under it.
- Pull the yarn through both loops on the hook.
Repeat these steps.
You can watch a video to see in detail how you start the cord.
Video tutorials about crochet i-cord:
See a fast 1-minute video here!
A longer version of crocheting the cord. The link takes you directly to the right spot on a video of 5 crochet tips.
Pin the I-cord tutorial:


