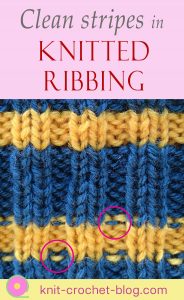
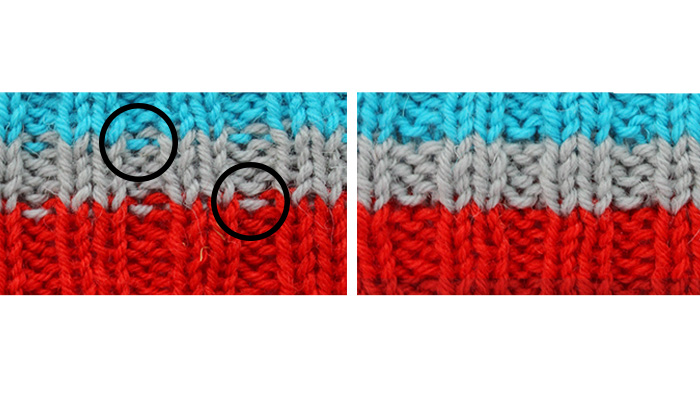
Many of the best tips are the easiest! I especially noticed this after my latest video. Most knitters have at times been knitting striped ribbing, like for socks or mittens cuffs. I remember that already as a child I hated that these yarn bumps from purl stitches were showing on the right-hand side. Like this:
Instead of having the colours bleed into the next colour, I so much prefer when the stripes are straight and clean like in the image below. I posted the video about this in a number of knitting groups. Hundreds of people commented that they were surprised they hadn’t known it before and how easy it was to do!
So, how do we do this?
Each time you take a new colour, you don’t do ribbing for the first row or round. Instead, you knit the whole row, also where you would normally purl. The row after that you continue ribbing normally. That’s all.
This works equally well when you knit the ribbing flat (back and forth) or in the round. It works with a different number of stitches in the rib. My example is 2×2 ribbing. The only situation where you would not use it is when the wrong side of the work shows, like in a scarf.
This method doesn’t work if you have lots of very narrow stripes one after another. You could have an occasional two-row stripe in between wider ones. The reason is that the ribbing would no longer be stretchy if there are too many knit rows close together. Otherwise there is no difference in how the ribbing performs.
Pin this page:


Why didn’t I know this earlier? I’ve learned so much from you. Thanks a million!
Great to hear it’s useful to you!! Happy bew knitting year!
Thank you so much! So clear and easy to follow. My project looks much better now thanks to you.
Glad to hear! Happy knitting!