Pom poms can be added to many different types of projects from hats and scarves to wreaths, baby blankets and rugs. The fastest way to make them is using a pom pom maker. Those are widely available in craft and yarn stores.
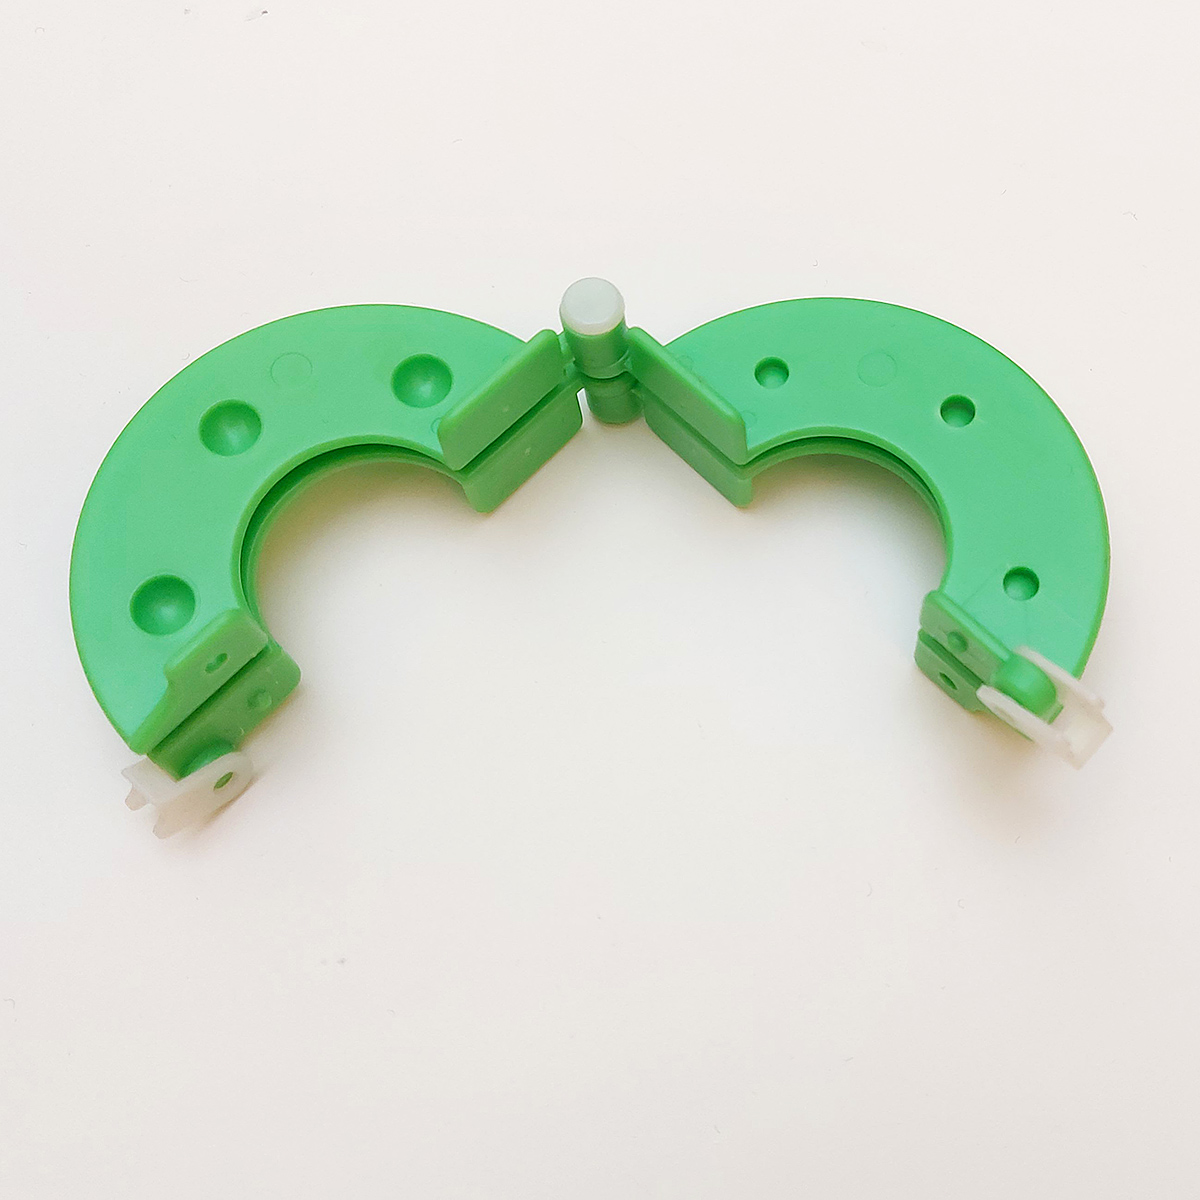
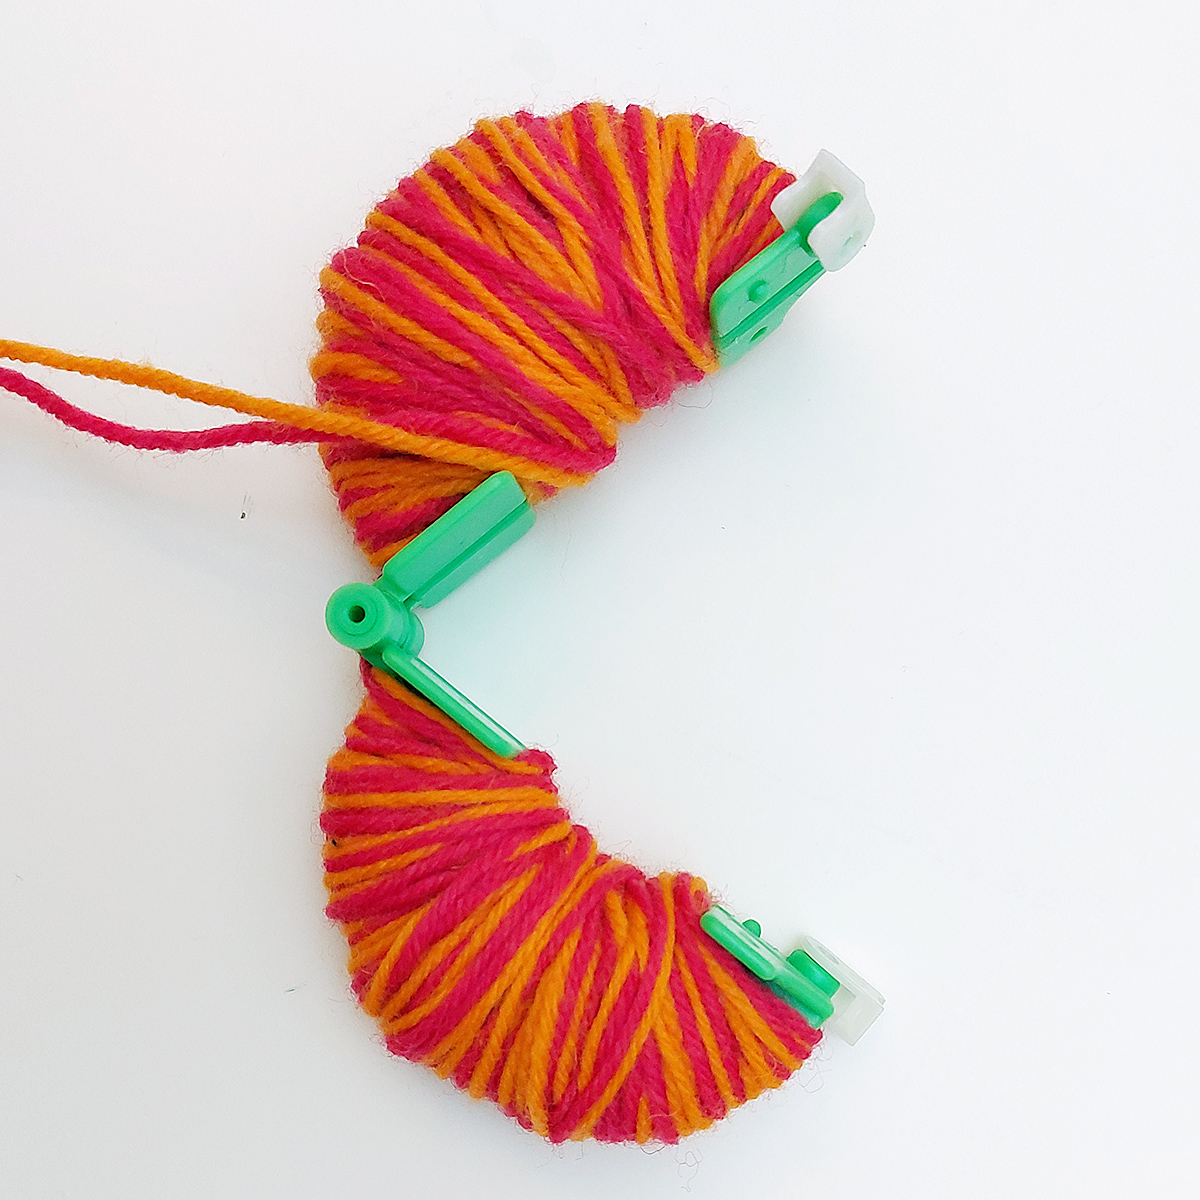
Here you have instructions for using a pom pom maker both as photo tutorial and video. All images open larger when clicked.
The video comes after the photo tutorial.
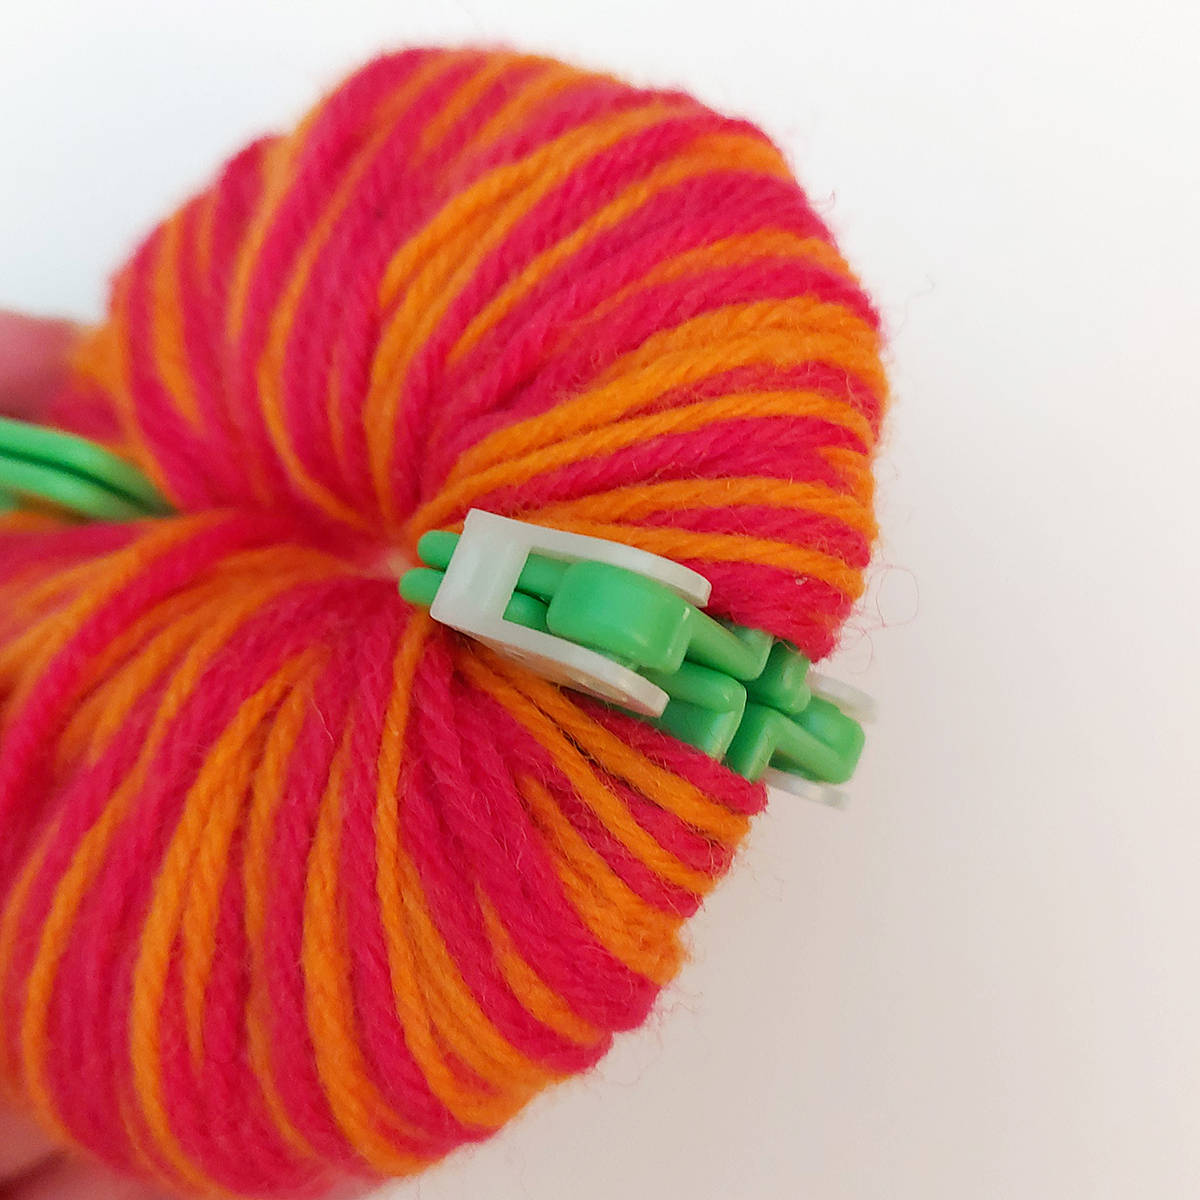
6. Take a piece of yarn and pass it in between the two rings. Tie very tight. Go around the yarns a second time and tie again twice.
7. Open the clips and open each half to remove the pom pom maker.
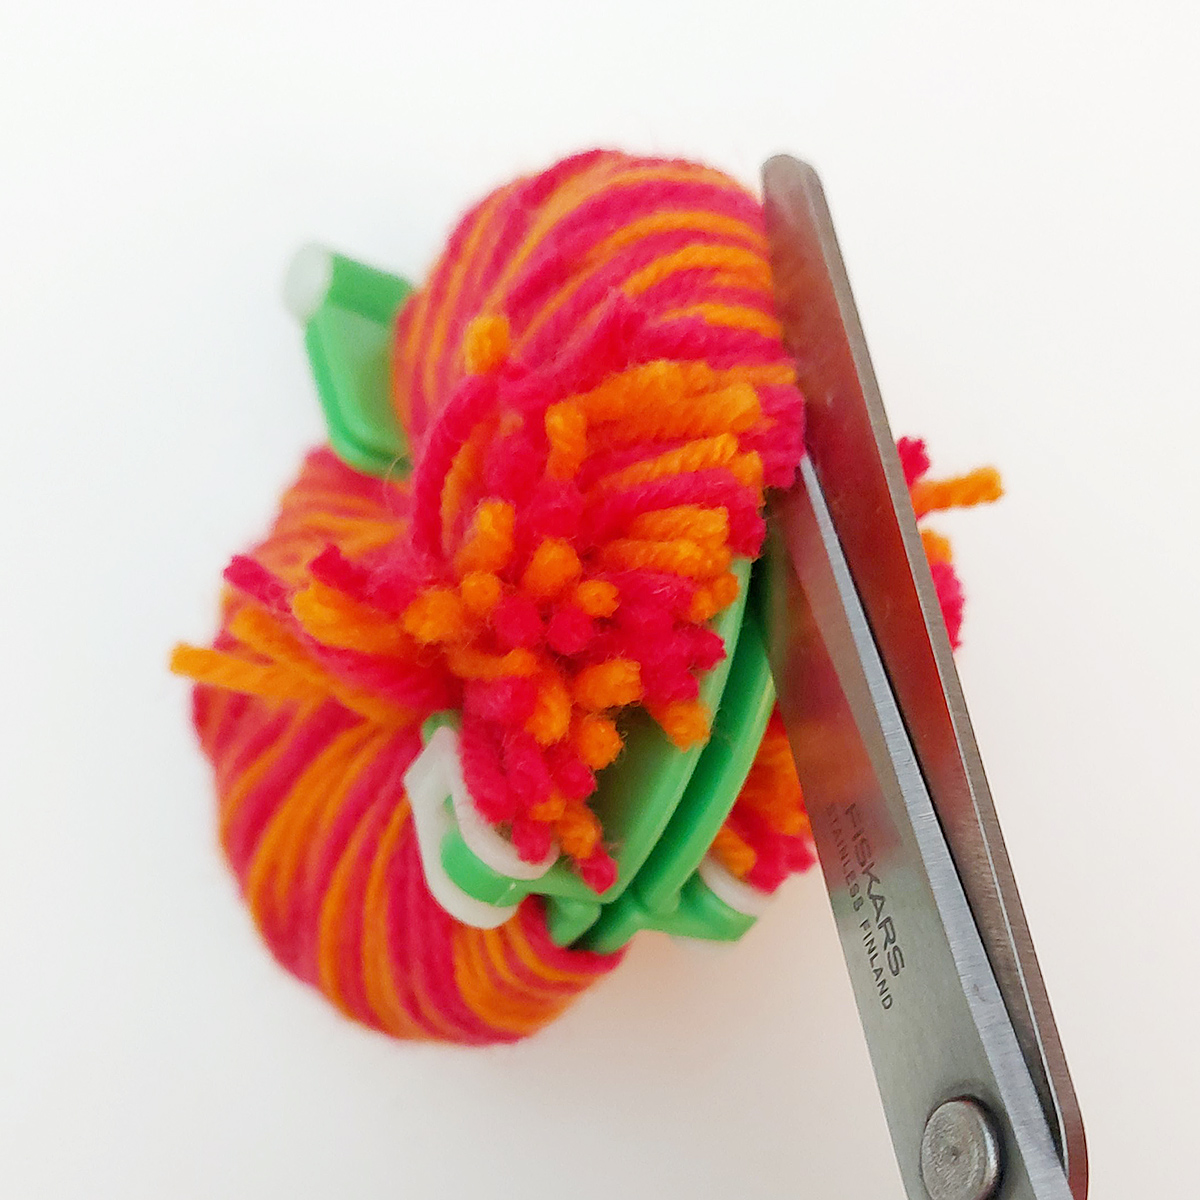
Use scissors to clip the pom pom so it is the righ shape and even.
Video: How to use a pom pom maker
Pin the tutorial!
